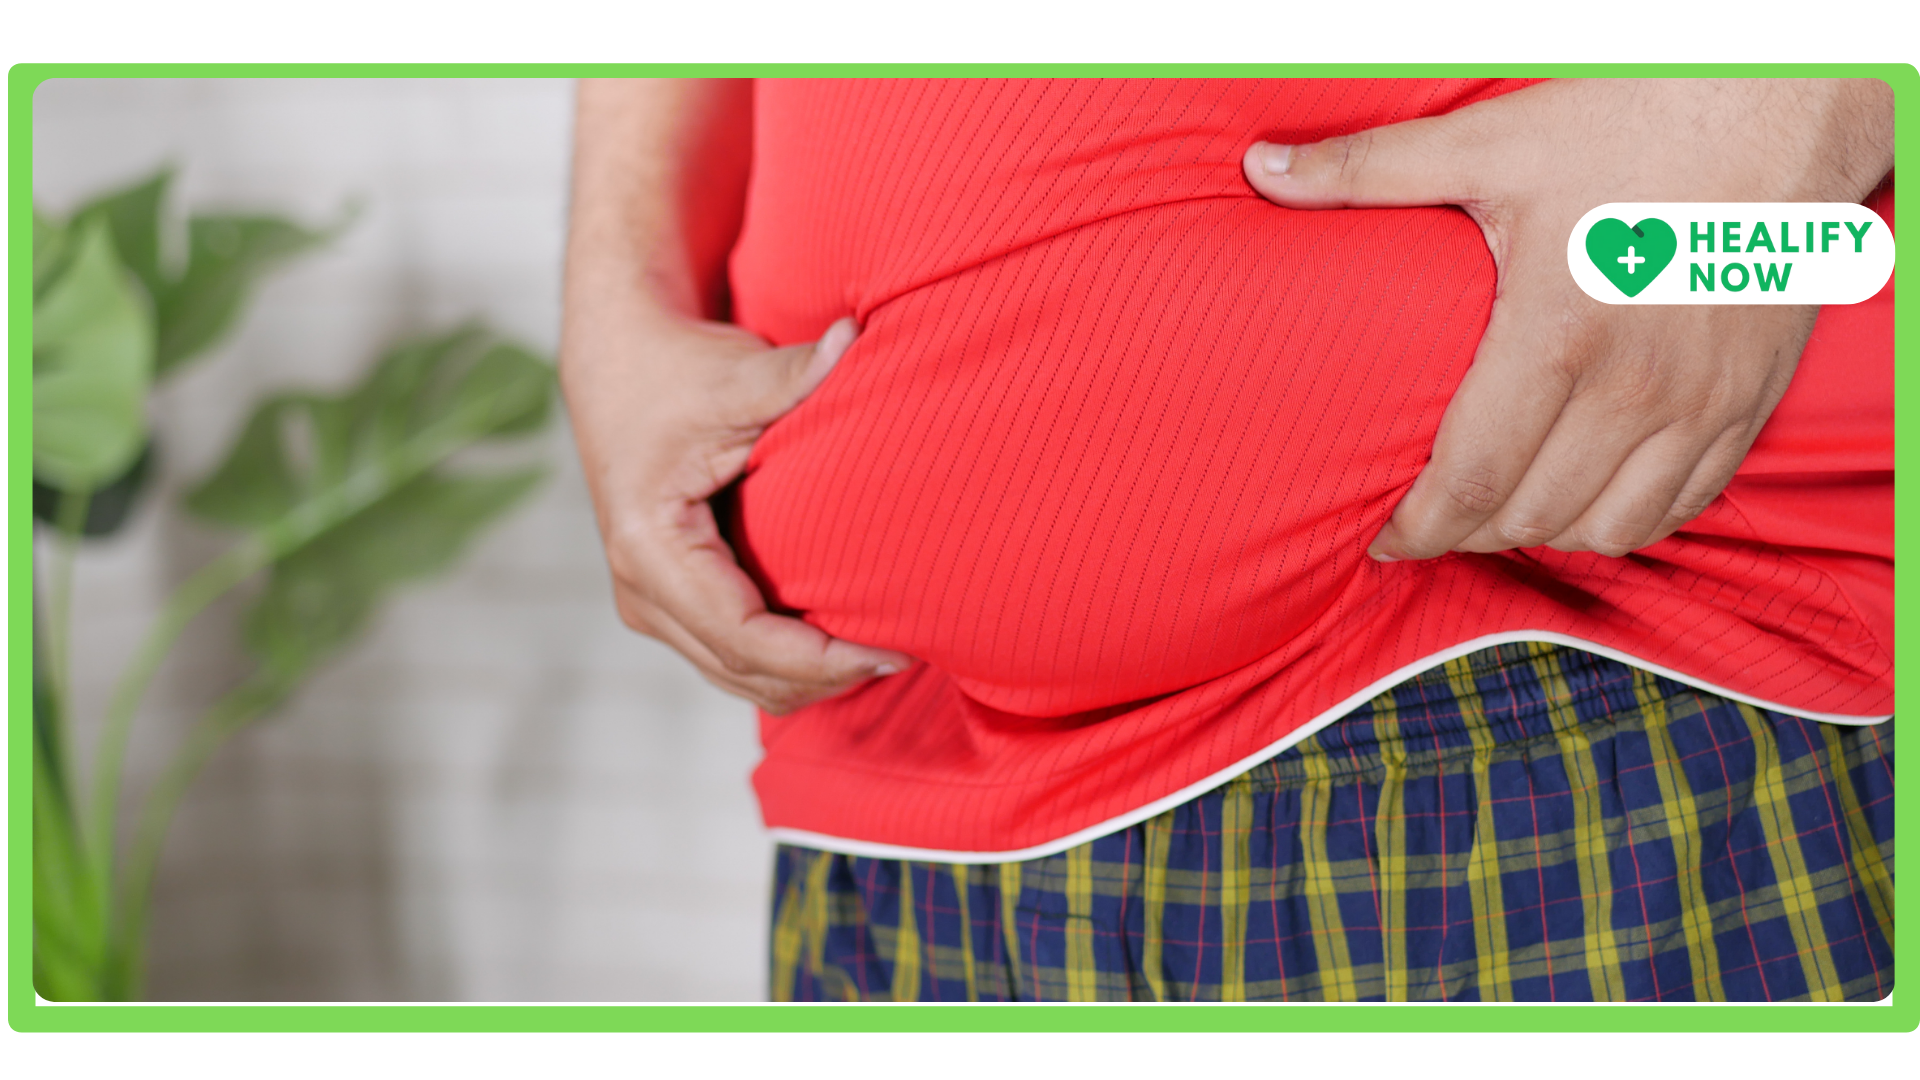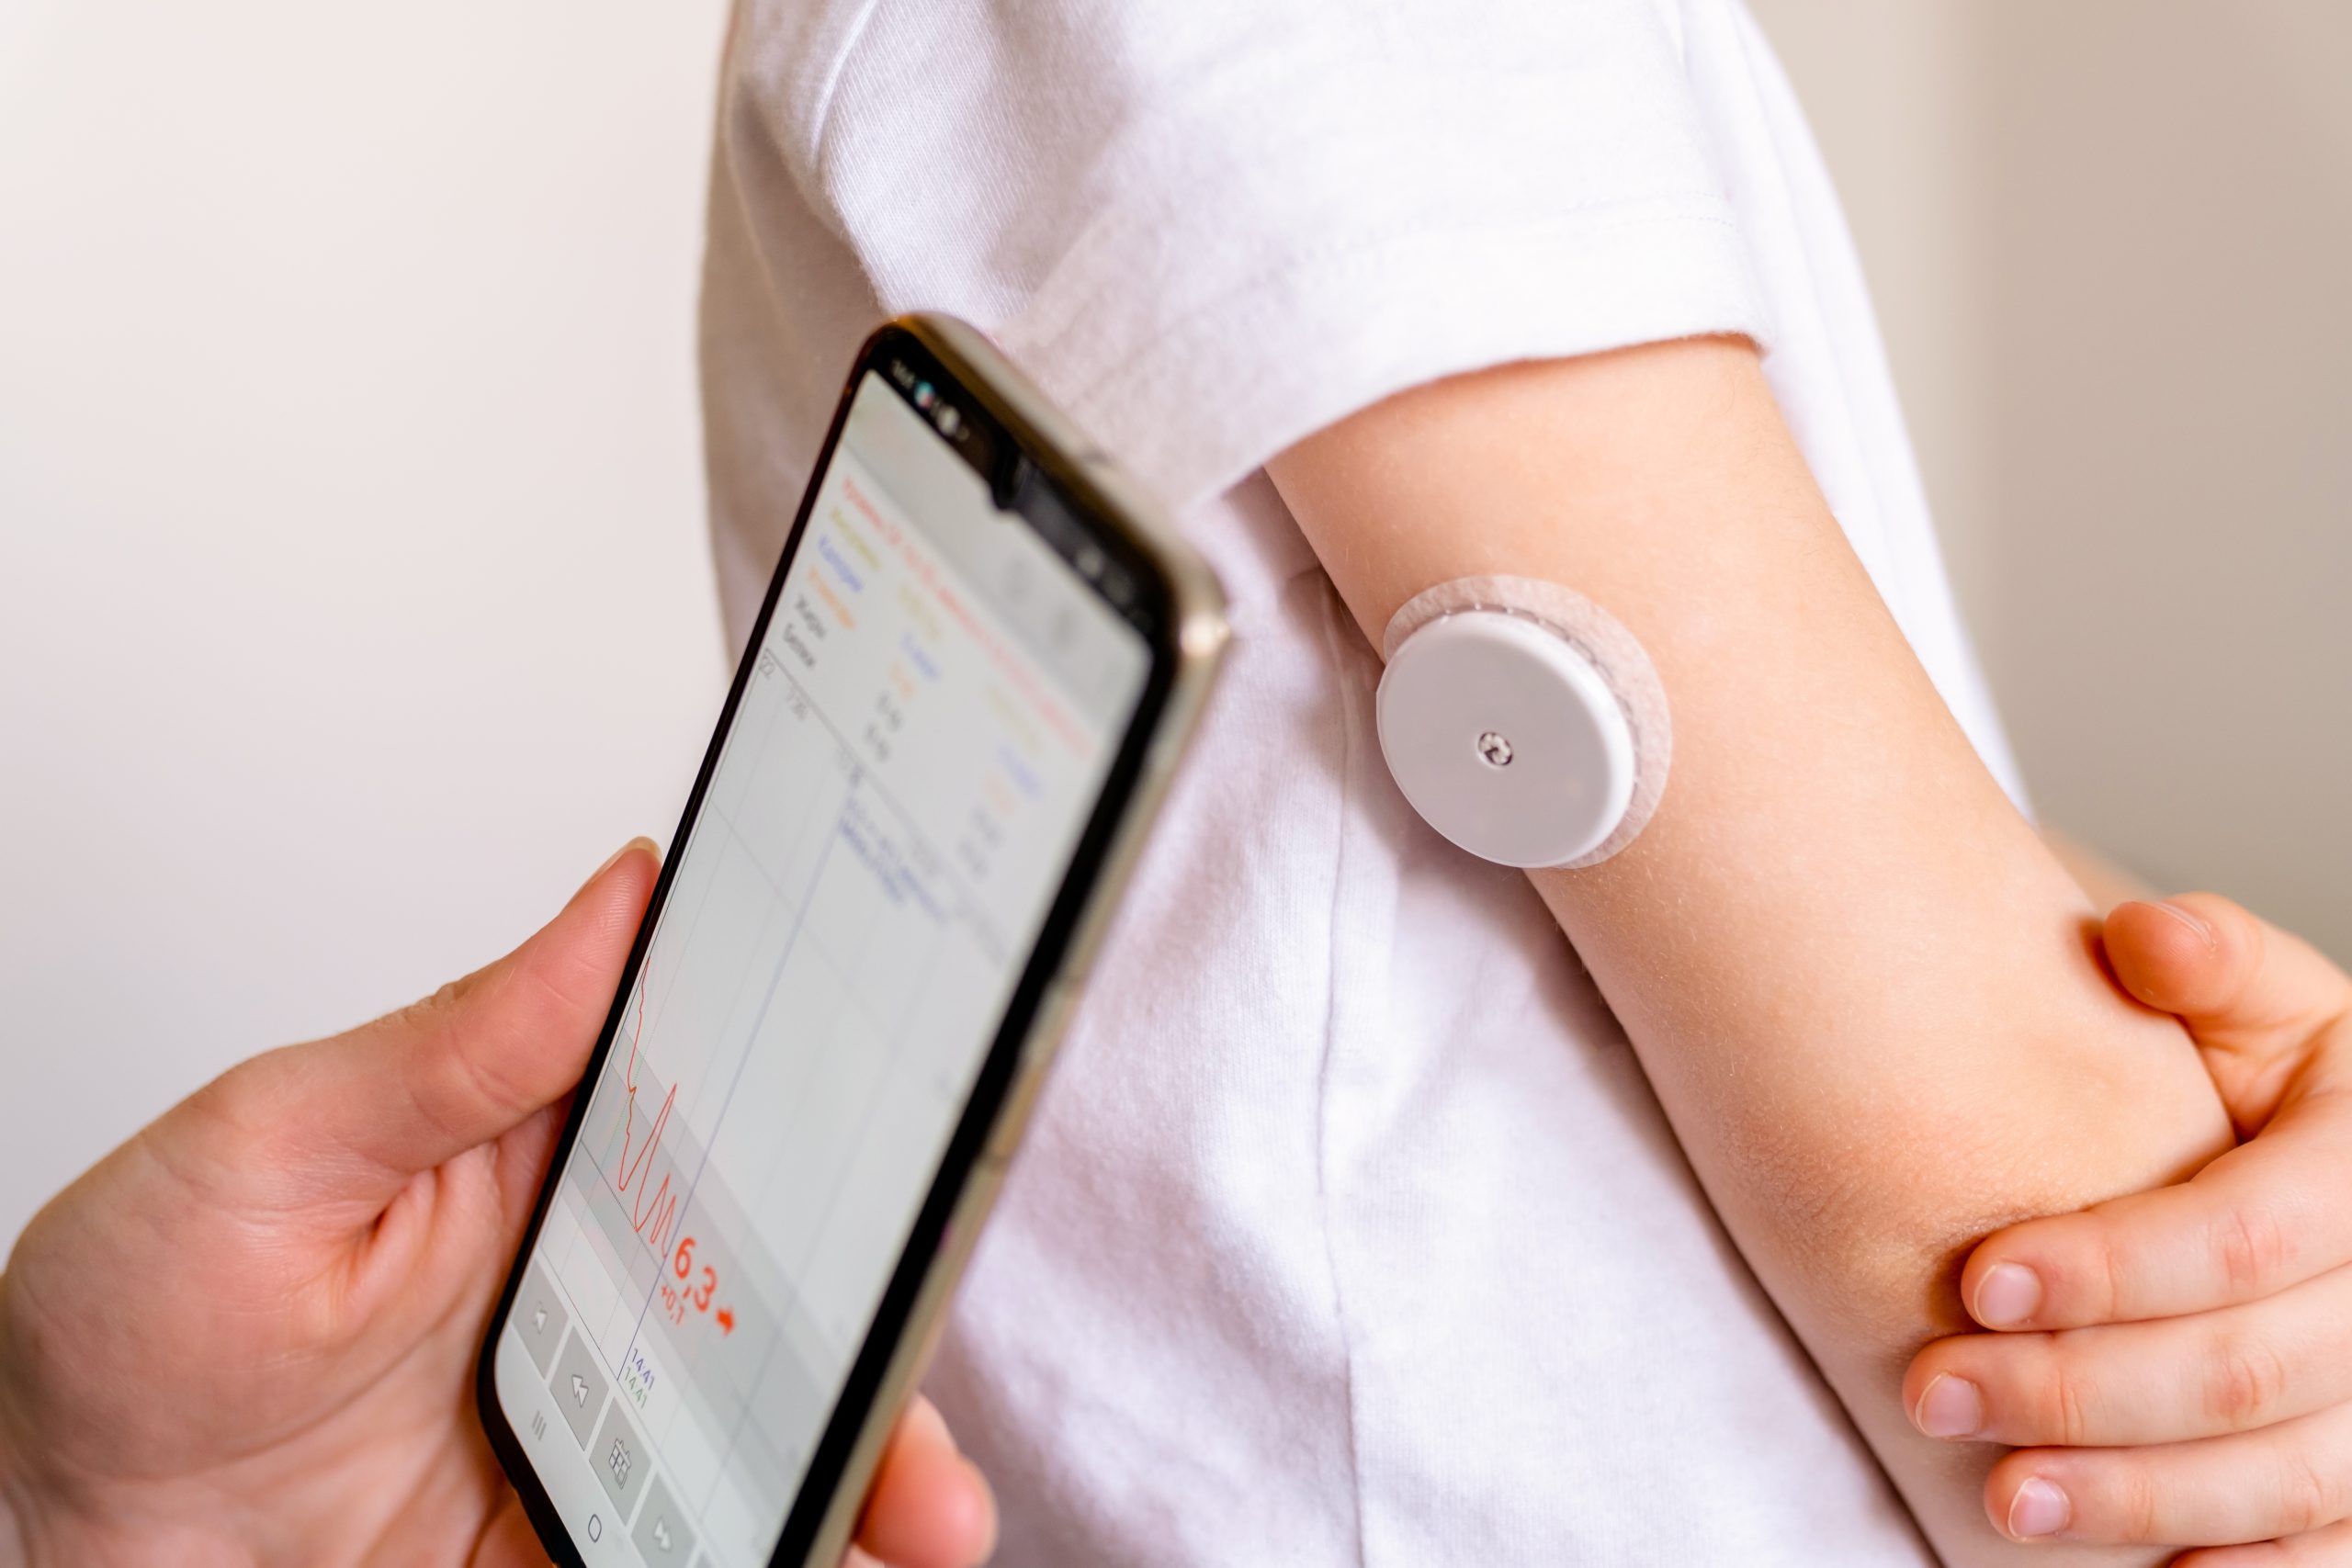
Continuous Glucose Monitors (CGMs) have changed the way diabetes and metabolic health are managed now. As well as insertion, getting rid of the adhesive properly holds just as much importance to keep the skin safe, reduce risks of infection, and make room for the new sensor.
Properly taking out your device helps reduce irritation and extends how long your CGM works.
We will guide you from organizing everything to the post-removal part. You’ll also learn about several CGM devices, strategies to prevent irritation, and common questions others have asked.
Table OF Content
- 1 Importance of Proper CGM Removal
- 2 Step-by-Step Process for Removing CGM
- 3 Common Challenges During Removal and Solutions
- 4 How Often Should You Remove and Replace a CGM?
- 5 Removing a CGM in Children or Elderly Patients
- 6 How to Remove CGM using Skincare Barrier for Easier Removal?
- 7 When to Contact Your Care Provider?
- 8 Frequently Asked Questions (FAQs)
- 9 Conclusion
Importance of Proper CGM Removal
While removing a CGM might sound easy, an improper process can result in skin problems, extra adhesive left on your skin, or damage to your device. Every CGM, from Dexcom, FreeStyle Libre, or Medtronic, is removed using its method, yet some principles work for all models.
Removing it properly ensures:
- Skin stays free from irritation and is healthy.
- Reusable transmitters are still intact
- The adhesive and its residue can both be easily removed.
- Apply the next sensor with no difficulties
Step-by-Step Process for Removing CGM
Let’s move on and explain each point in detail one at a time.
Step 1: Gather Removal Supplies
Check to see that everything you need is available before beginning construction. The right tools make it easier to remove hair and lessen discomfort or tugging of the skin.
Basic Supplies to Have on Hand
- Wipes designed for removing adhesives (such as Uni-Solve or SkinTac Remover)
- Either cotton balls or a soft cloth
- Soap made for sensitive skin and warm water
- Clean towel
- If the adhesive is difficult to remove, add baby oil or olive oil (optional).
- A sharps box, if you are getting rid of used single-use CGMs.
Keeping these supplies where you can find them will help you stay calm and carry out your first aid quickly.
Step 2: Make Sure Your Hands Are Really Clean
Though this seems easy, it’s very important since clean hands can keep germs away, especially if the rotating site area is irritated.
The Right Method for Handwashing
- Wipe your face with warm water and antibacterial soap.
- Lather your hands for at least one minute.
- Dry the parts with a fresh and dry towel or a disposable towel.
Maintaining hygiene while handling your CGM and skin afterward helps stop the spread of germs.
Step 3: Loosen the Adhesive Carefully
Many CGMs can withstand sweat, getting wet, and regular movement. The downside? There are very strong adhesives available. Make sure you don’t rush out when putting the litter box in, as it often leads to ripped skin.
How to Loosen Adhesive Painlessly
- Slowly pick at the sides of the CGM patch with your fingertips or a plastic card that is not sharp.
- Use adhesive remover at the area where the adhesive is exposed. Watch it for 30–60 seconds.
- Keep peeling the adhesive in several parts, each time applying a little more of the remover.
The growth should happen gently and step by step. To help sensitive skin, applying baby oil first may aid in easier removal.
Step 4: Remove the CGM Transmitter or Sensor
When the adhesive loosens, remove the actual CGM device.
Tips by CGM Brand
- Dexcom G6/G7: Take hold of the sensor pod with the monitor, slowly rock it forward and backward, and gently peel it away from your skin.
- FreeStyle Libre: Get the fingernail under the sensor and gently pull straight out. It requires just one piece to be removed.
- Medtronic Guardian: Unplug the transmitter (if you are using a reusable one) and then pull the sensor straight up.
Don’t jerk or tug on the hair — it might harm and result in bleeding or bruising.
Step 5: Dispose of the Device Properly
Not every CGM can be used for anything besides the initial transport. Likewise, the Dexcom transmitter can be used over and over, and only the sensor has to be replaced. It is entirely designed to be thrown away after use. Carefully check how to dispose of the materials involved.
Disposal Guidelines
- Put disposable sensors into sharp containers if they carry needles.
- Dispose of batteries and electronic devices the right way.
- Wash reusable transmitters and put them away safely.
Disposing of waste properly is good for the environment and keeps everyone safe at home with kids or pets.
Step 6: Clean and Soothe the Skin
When the tattoo is removed, your skin could feel a little itchy or sticky. Immediate action can stop the site from causing irritation, rashes, pimples, or allergic problems.
Skin Care After Surgery
- Rinse the area with a few drops of mild soap and water.
- Try wiping the adhesive off with a soft cloth if part of it sticks.
- If your skin is inflamed, use a soother such as aloe vera or hydrocortisone lotion.
- Put a new sensor on a different spot for a few days.
Moving the sensor to a new placement supports skin healing and stops it from thickening or becoming inflamed.
Common Challenges During Removal and Solutions
There is no difficulty in removing a Continuous Glucose Monitor at first glance, but users frequently have to deal with tough adhesive and skin problems. Users often run into these challenges, and here are the usual ways to solve them.
Stubborn Adhesive That Won’t Budge
Problem:
Several CGM tools are designed to stick closely to your skin so you always get consistent results. But, since they are very thick, it becomes hard to remove them without leaving some of the product behind.
Solutions:
- Apply a product like Uni-Solve or TacAway on the edge of your sticker. Let the solution be absorbed by the patch’s edges for about five minutes.
- Coconut oil, baby oil or olive oil are gentle natural ways to dissolve adhesive.
- Twist rather than pull: Never try to take off the peel by simply tugging. Take off the paper slowly and continue to have it touch the skin as you go.
Redness, Rash, or Irritation Post-Removal
Problem:
Unprotected parts of skin with sensitive skin may feel itchy or become red after any adhesive is taken off.
Solutions:
- After the wart is removed, apply aloe vera gel, hydrocortisone cream, or a hypoallergenic moisturizer.
- Use barrier wipes like Cavilon the next time you use a CGM to avoid future skin irritation.
- Keep changing where the sensor is located to prevent the same parts of the area from getting stressed again and again.
Sensor Dislodgement or Breaking
Problem:
Hastily ripping off the adhesive may cause the sensor to come out or break while you are trying to remove it.
Solutions:
- Hold the sensor during the step when you are unwinding the patch.
- Do not use a pulling motion; begin by peeling gently around the edges of the adhesive.
- Should you notice damage, immediately talk to the manufacturer, since some may replace your sensor free of charge.
Trouble Detaching the Transmitter
Problem:
Some systems, such as Dexcom and Libre, offer a reusable transmitter. Pulling it out incorrectly leads to damage.
Solutions:
- Use the correct technique: Look up how it works from the manufacturer (for Dexcom, you’ll usually need to squeeze and release).
- Small tools may be sent by some brands to help remove the transmitter.
- If the transmitter isn’t working, allow a service person to release it instead of forcing it.
Bleeding or Minor Skin Injury
Problem:
A sensor might occasionally touch against a small capillary. Getting rid of it might leave some light bruising or cause blood.
Solutions
- Press a sterile gauze pad on the wound for 2–3 minutes.
- Use antiseptic wipes to clean the place and stop any infection.
- Look for things like heat or pus near the wound and call your doctor if concerned.
Rotating Sensor Sites: Why It Matters Post-Removal
Using the same area of skin often can harm your skin and lower how well the sensor works.
Recommended Rotation Sites
- Abdomen (away from the navel)
- Back of the upper arm
- Thigh (for experienced users)
- Lower back (rare but acceptable)
Wait for at least 7–10 days before using a site again after using it.
How Often Should You Remove and Replace a CGM?
The time that CGM sensors can be worn is not the same for all brands.
General Guidelines
- Dexcom G6/G7: Replace every 10 days
- FreeStyle Libre 2/3: Replace every 14 days
- Medtronic Guardian: Replace every 7 days
High use of tanning beds may result in false readings and harm to your skin.
Removing a CGM in Children or Elderly Patients
Higher caution is required when applying or removing CGMs with individuals who have lower body strength.
Tips for Children
- Try to give your child items that are fun to play with such as toys and games
- Help them understand what is happening to reduce their anxiety.
- Apply skin-friendly adhesive removers on your skin.
Tips for Elderly
- The skin can be sensitive, so add extra care by using additional remover.
- Regularly verify for skin tears or bruises.
- Check to see that they get rid of their trash properly if they are alone.
How to Remove CGM using Skincare Barrier for Easier Removal?
When removal is unpleasant, use a barrier ahead of inserting your CGM. Few simple solutions include:
- Skin prep wipes (alcohol-free)
- Protective patches (like GrifGrips)
- Hydrocolloid dressings under the sensor
They let you remove adhesive layers more easily without sticking too much.
When to Contact Your Care Provider?
Any strange symptoms that develop after taking off the CGM may call for medical advice. Below are some key Warning Signs to know:
- Persistent redness or rash lasting more than 3 days
- Skin breakdown, open wounds
- Signs of infection: pus, swelling, warmth
Your doctor may suggest special skin products or alternatives that you won’t be allergic to.
Frequently Asked Questions (FAQs)
1. Is it painful to remove a CGM sensor?
Often, removing one with adhesive remover is not painful. Bumps, pain and itching may appear on skin that is reactive or if the bandage is removed too abruptly.
2. Can I reuse a CGM sensor after removing it?
No. Most sensors (similar to Dexcom G6 or Libre) can be used just once. Users can reuse the transmitters only in some devices.
3. What happens if the CGM leaves adhesive residue?
Baby oil, alcohol wipes and adhesive remover pads are good options to use. Do not use force while washing the skin, since it might irritate you.
4. How soon can I apply a new CGM after removal?
The system works immediately when copied to another site. When placing a new CGM, never use skin that you have used a lot or which is red or irritated.
5. What if the sensor breaks during removal?
Check for any tissue left in the part you’re operating on. Should you feel unsure, see a healthcare provider straight away.
Conclusion
Both taking off the sensor correctly and wearing it correctly are important. It guarantees your skin is healthy, you handle the device correctly and your next sensor experience is better. Washing, cleaning and disposing all affect how comfortable and safe your home will be.
If you use Healify Now, we are here to help you choose the best CGM and show you how to remove it properly. Book now and we’ll give you a free consultation to support your glucose management and give you more confidence. Talk to our experts, whether you’re just starting with CGMs or need more advice about them.