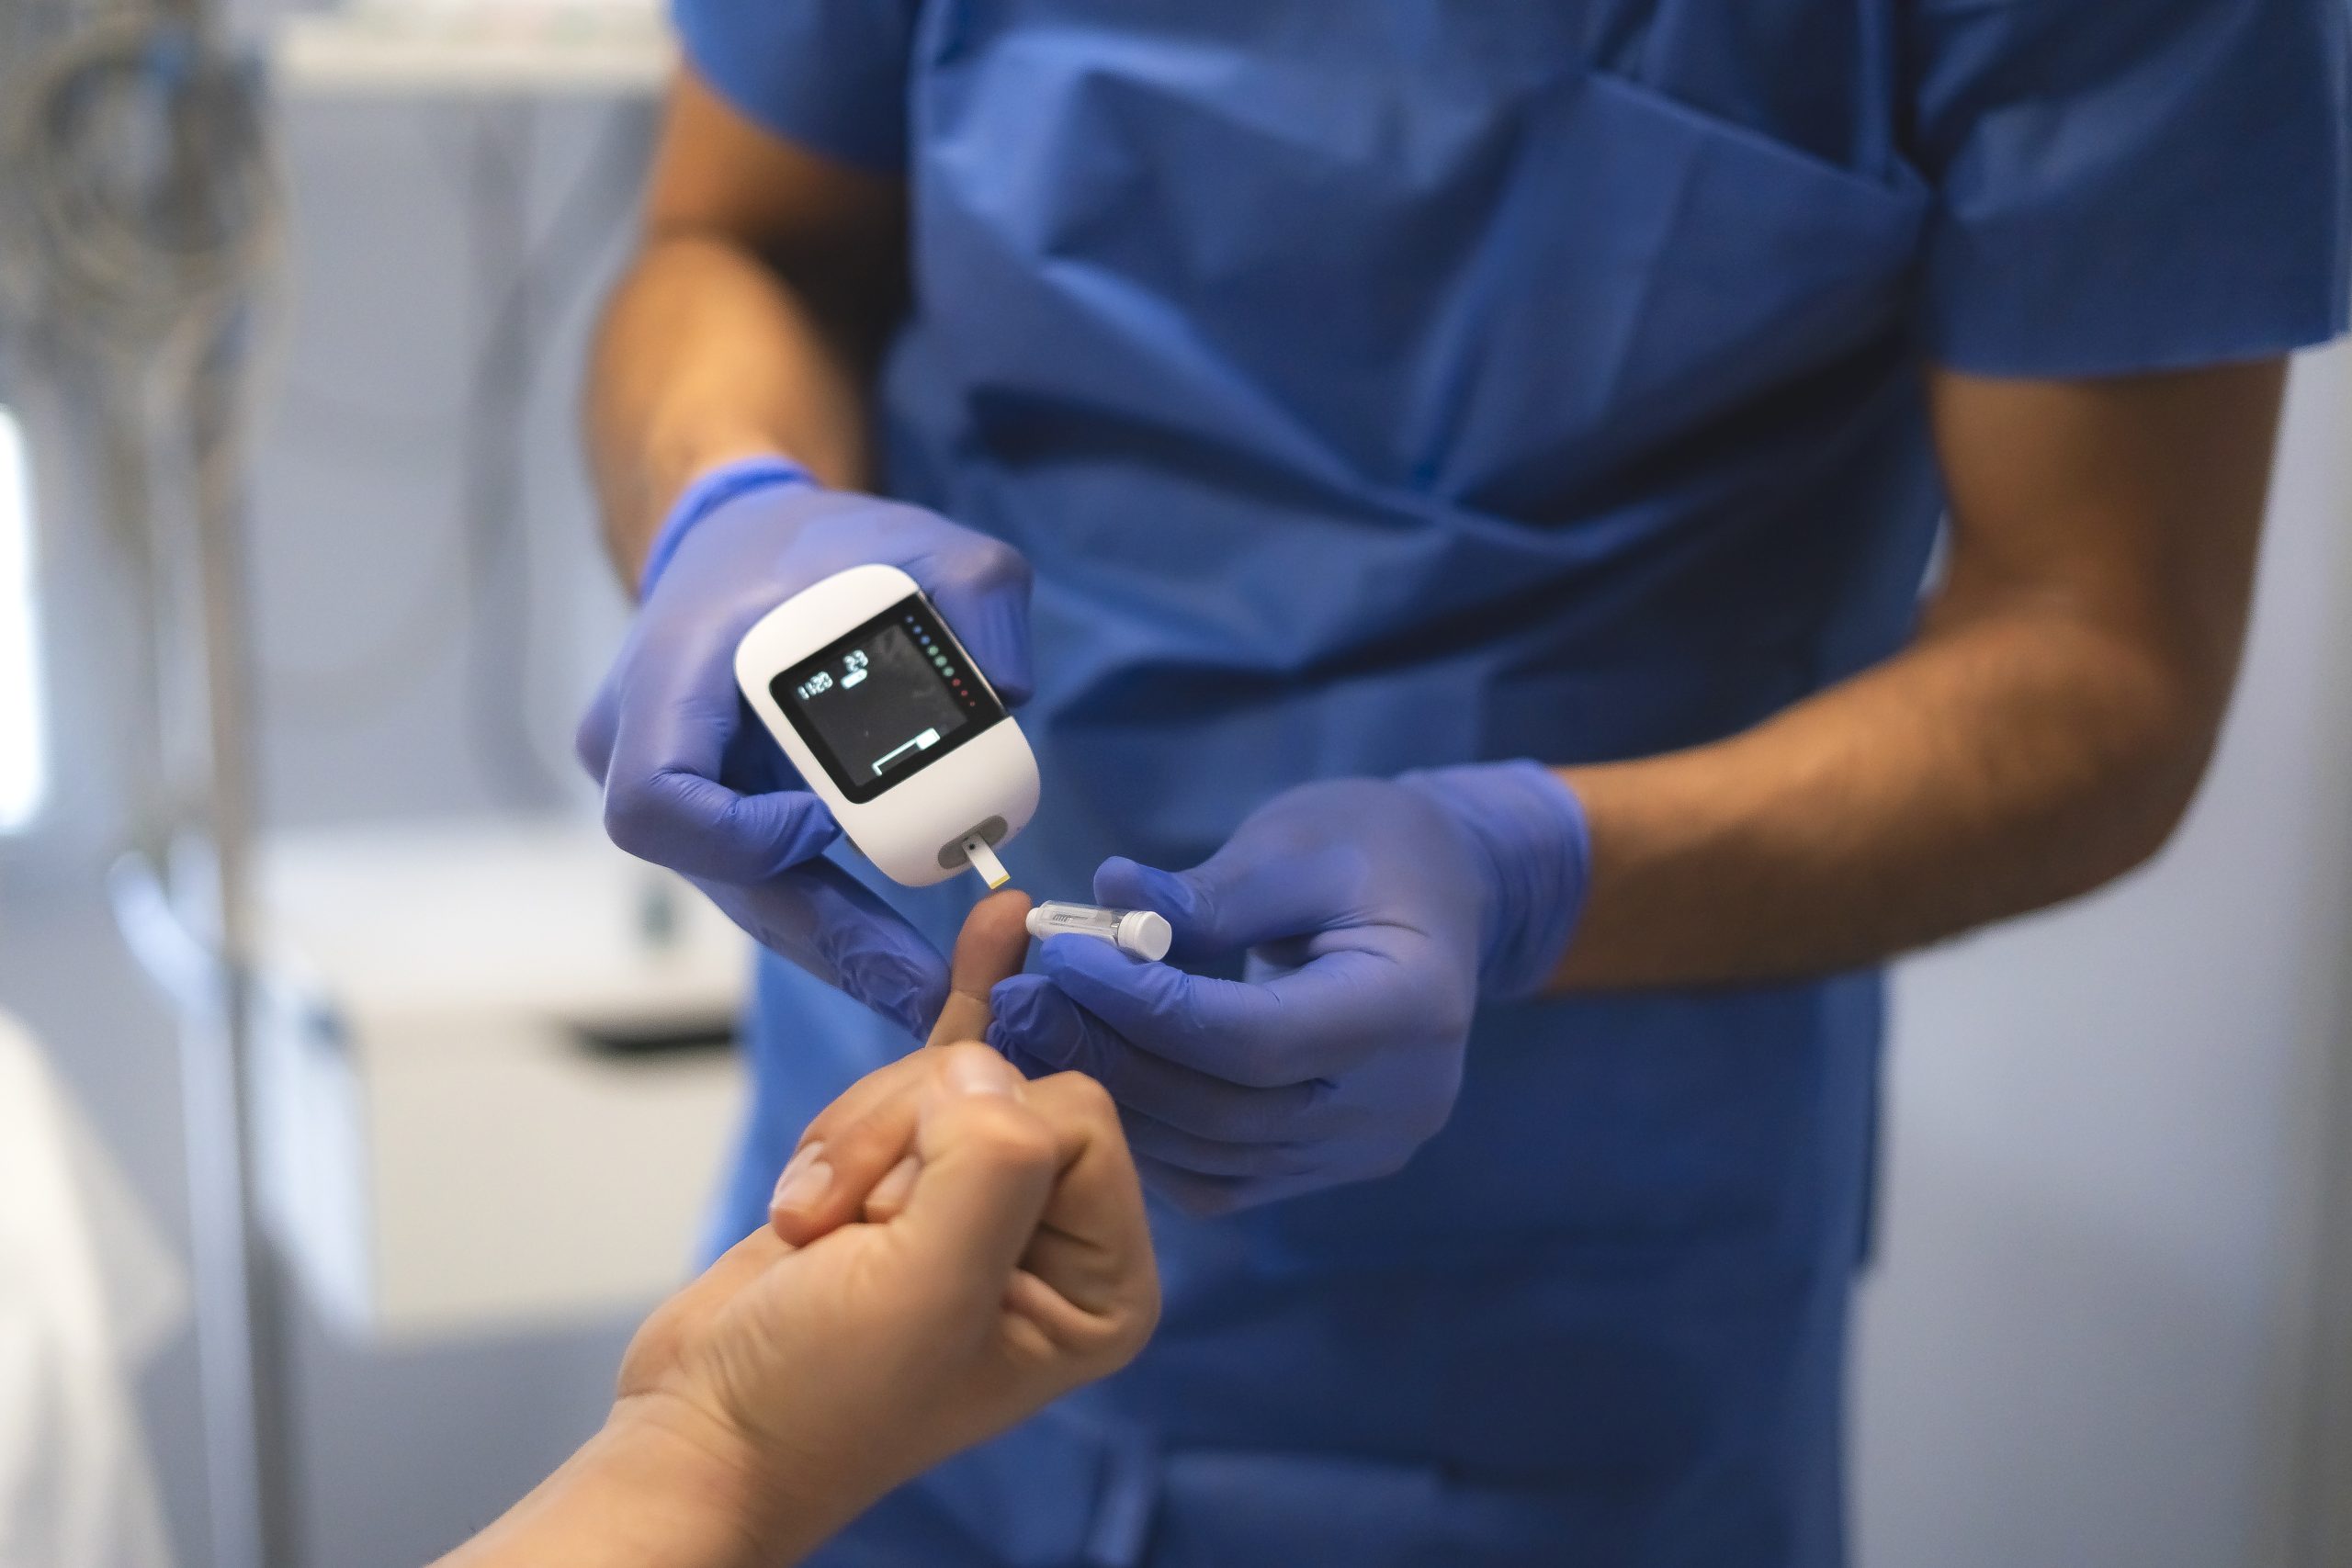
Diabetes patients can better manage their lives by monitoring their glucose levels with Continuous Glucose Monitors (CGMs).
CGM accuracy depends on where the sensor is placed on the body. When the sensor is placed correctly, your readings stay constant, you are more comfortable wearing it, and the sensor ages better.
We will examine where to place your CGM sensor, why site selection is essential, and how practical tips can improve your device’s performance.
Table OF Content
- 1 Why Does Sensor Placement Matter?
- 2 Key considerations for sensor placement:
- 3 FDA-Approved CGM Sensor Placement Areas
- 4 Off-Label CGM Placement: Exploring Alternatives
- 5 How Body Type Influences CGM Placement
- 6 Preparing the Skin for CGM Placement
- 7 Importance of Site Rotation for Skin Health
- 8 Managing Sensor Adhesion and Comfort
- 9 FAQs About CGM Placement
- 10 Conclusion
Why Does Sensor Placement Matter?
The device does not check your blood sugar directly; it checks glucose levels in the fluid surrounding your body’s cells under the skin. Therefore, external conditions impact the sensor’s data. Putting the sensor in a spot with steady, unchanging glucose levels, very little movement, and a proper amount of tissue will ensure the system’s accuracy.
Key considerations for sensor placement:
- Accuracy of Glucose Readings: The sensor must be on a site where blood flow and interstitial fluid levels reflect your blood glucose with minimal delay or interference.
- Sensor Adhesion and Durability: Placing sensors correctly helps avoid situations where movement, sweat, or friction causes them to detach from the device.
- User Comfort: Since sensors stay on your body for a week or more, the best place to attach them is free from pain, pressure or excessive hair.
- Ease of Application: It is good for self-care to have places that are easy to access and work with without needing help.
FDA-Approved CGM Sensor Placement Areas
The FDA and most CGM manufacturers suggest certain safe and accurate placement areas. These sites offer good sensors and a comfy feel.
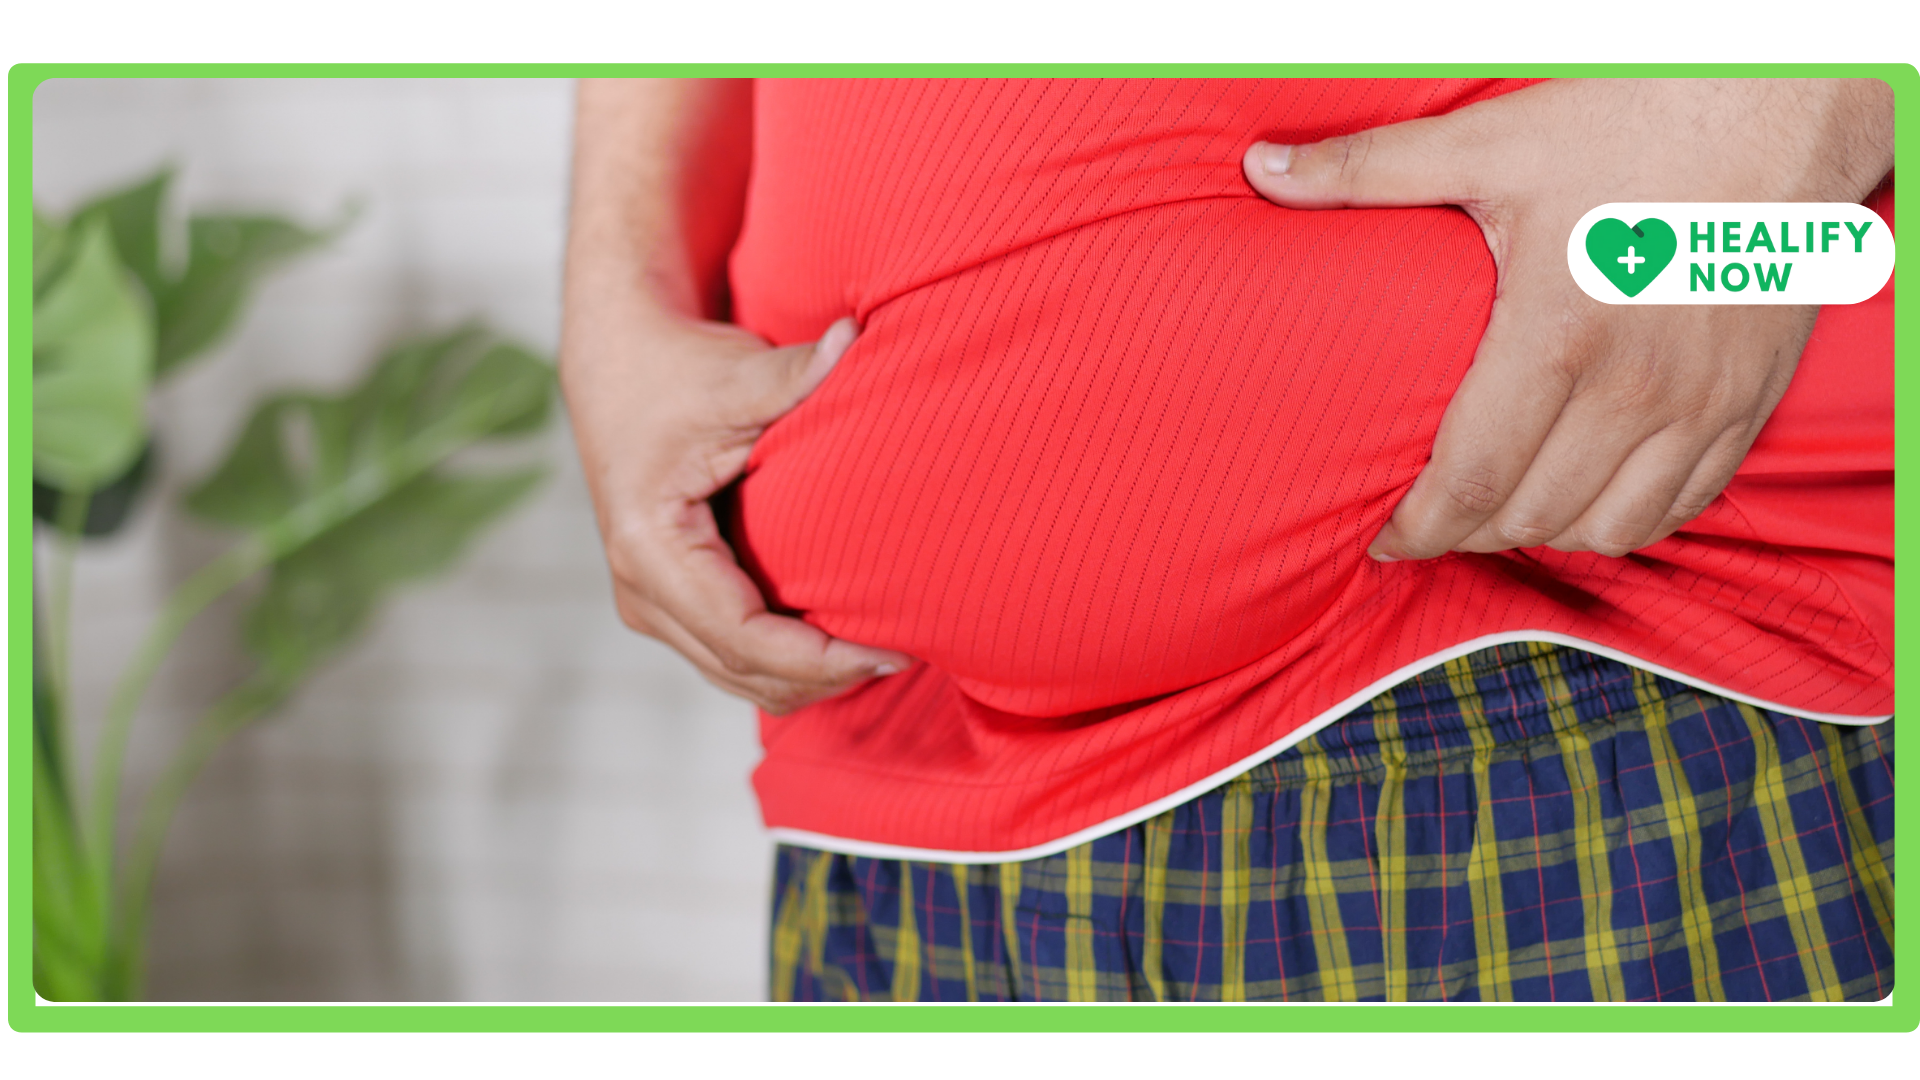
Abdomen
The abdomen is the most suitable CGM placement site for most adults because of several advantages related to its structure.
- Thick Subcutaneous Fat: The abdomen has plenty of fatty tissue, so if sensors are squeezed against bone or muscle, the sensing device can be confused.
- Stable Interstitial Glucose: The interstitial blood vessels aren’t very strong, allowing the sensor to take nearly instant glucose readings.
- Convenient Placement Area: Place and rotate sensors more simply on the broad and flat abdominal area.
Detailed Placement Tips:
- Never put the sensor within two inches of your navel, because the skin is thinner and has less fat.
- Rotate the sensor site to keep the skin and tissues healthy.
- Before you apply the sensor, make sure the area of skin is clean and dry and oil—and lotion-free.
- Do not place sensors on places marked by scars, tattoos or irritation.
Upper Buttocks
When injecting children and teens, the upper buttocks should be considered because:
- Protection from Bumps: Because children can’t hurt the area during play, it stays safe from impacts.
- Adequate Fatty Tissue: It offers sufficient padding for stable sensor readings.
- Less Visible Placement: Sensors located in this region are difficult to see and less likely to be taken out or changed by children.
Practical Guidance:
- Stay away from areas such as the tailbone and the hip bones.
- Give your child additional adhesive patches if they frequently take off their sensor.
- Rotate between the left and right sides to protect skin health.
Off-Label CGM Placement: Exploring Alternatives
Sometimes, people think that standard places do not work for them. Some newer CGM models permit a little flexibility, but it is necessary to learn what using such areas might involve.
Back of the Upper Arm
Using the Dexcom G7 and other sensors, the top of the upper arm is becoming the go-to spot for continuous blood glucose monitoring.
- Less Interference: There isn’t the same risk of hitting pressure points that bar an abdomen or thigh tattoo.
- Discreet and Convenient: It’s simple to hide under clothes.
- Reduced Risk of Sensor Damage: Sensors are less likely to touch belts or waistbands.
Challenges:
- This site is harder to self-apply without help.
- Moving the arm while you exercise or get dressed may irritate the sensor or cause it to come loose.
Outer Thigh
The outer thigh provides another off-label option:
- Advantages: Large surface area and easy to cover with clothing.
- Drawbacks: Sitting and leg movement can sometimes compress or irritate the sensor.
- Best Practices: Use flexible adhesive covers and avoid tight pants during sensor wear.
Lower Back or Flank Area
Some users prefer the lower back or flank region:
- Benefits: This area is typically flat, padded, and not prone to frequent contact.
- Downsides: Hard to reach for self-application and may be compressed when sitting.
How Body Type Influences CGM Placement
No CGM insertion method is “one-size-fits-all” since every body is different. Knowing your own body parts will help you determine where to apply the injection.
For Leaner Individuals
- Thin people may experience pressure from sensors against muscular tissue in their belly or upper arm.
- Choose a location with more subcutaneous fat, such as the upper buttocks or outside thighs.
- Avoid pressing the sensor with bones or clothing while moving.
For Heavier Individuals
- A high body fat percentage allows for a wider variety of places to check, but it’s important not to place the sensor on very thick fat, as it could slow down glucose results.
- The abdomen area usually looks good, though you should make a habit of switching ways you rotate.
- Place the sensor securely to the skin so that it doesn’t come off because the skin is wrinkly or wet.
Preparing the Skin for CGM Placement
Skin care is crucial. Proper sensor preparation improves stickiness, reduces unpleasant reactions, and provides accurate measurements.
Steps for Ideal Skin Prep:
- Clean the area: Use soap and water or a sanitising wipe to clean and disinfect skin.
- Dry the skin: Dry the skin where the CGM is to be placed.
- Avoid lotions or creams: No lotions or creams should be used on the sensor region.
- Shave excessive hair: Trim any hair that covers the sensor, as it can cause your sensor to come off before its time.
- Use barrier wipes: For sensitive skin, applying a skin barrier film helps prevent irritation and improves adhesion.
Importance of Site Rotation for Skin Health
Repeatedly placing sensors can cause problems such as skin irritation, scarring, or tissue hardening, which may both harm your skin and make monitoring less effective and more uncomfortable.
- Rotate where the sensor is placed so the sensor reads at various areas on the body.
- Keep a record or use a handy app to see where you attached sensors in your space.
- It’s important not to use the same injection spot within the next 10–14 days to give your skin a chance to heal.
Managing Sensor Adhesion and Comfort
Placing the sensor perfectly doesn’t always avoid issues where it peels off or hurts the skin. There are ways to make both adhesion and comfort better:
- Apply adhesive patches made for CGM use when sweating heavily or after swimming.
- Avoid tight clothing that rubs the sensor.
- Protect the sensor from bumps or impacts during exercise or daily activities.
- If irritation occurs, switch to a new site and consider barrier products.
FAQs About CGM Placement
1. Can I place the CGM sensor anywhere on my body?
No. Though new sensors may offer more options, you should still place them according to FDA regulations or the manufacturer’s guidelines.
2. How often should I change the CGM sensor site?
Always replace the sensor site on your skin every time a new sensor is used and every 7–14 days to prevent skin problems and keep your readings reliable.
3. What if my skin reacts to the sensor adhesive?
Put adhesives behind your firm; try using skin barrier wipes or see your healthcare provider for hypoallergenic suggestions.
4. Can exercise affect sensor placement choice?
Yes. Select areas that don’t receive too much movement or tension to stop sensor damage and increase reading reliability.
5. How do I know if the sensor is not placed correctly?
Inaccurate readings, frequent alarms, sensor detachment, or discomfort are signs your placement may need adjustment.
Conclusion
Choosing the correct spot to put your CGM sensor is very important to get accurate readings, keep it comfortable and extend the sensor’s life. Typically, adults have their sensors on the abdomen and children on their upper buttocks, though innovations in technology let patients try spots like their upper arm or thigh.
Learning about your body, daily habits, and skin, plus proper equipment upkeep, enables you to get the most accurate glucose measurements. This attention to practical matters supports better control over diabetes and a higher quality of life. If you are still struggling to use CGM, our team at Healify Now is here to assist you with the right areas to place CGM to get accurate results.